Looking for a particular chicken breed or want to hatch your very own chicks? Read on to learn how to incubate chicken eggs step by step!
This post contains affiliate links: I am grateful to be of service and bring you content free of charge. In order to do this, please note that when you click links and purchase items; in some (but not all) cases I will receive a referral commission. Your support in purchasing through these links enables me to keep sharing content to help you start homesteading and it doesn’t cost you a penny extra!
See Disclosure, Terms and Conditions for more information. Thank you for supporting Misfit Gardening.

Join over 200,000 gardeners and homesteaders and listen to the popular Homesteading & Gardening In The Suburbs Podcast or read on to learn more!
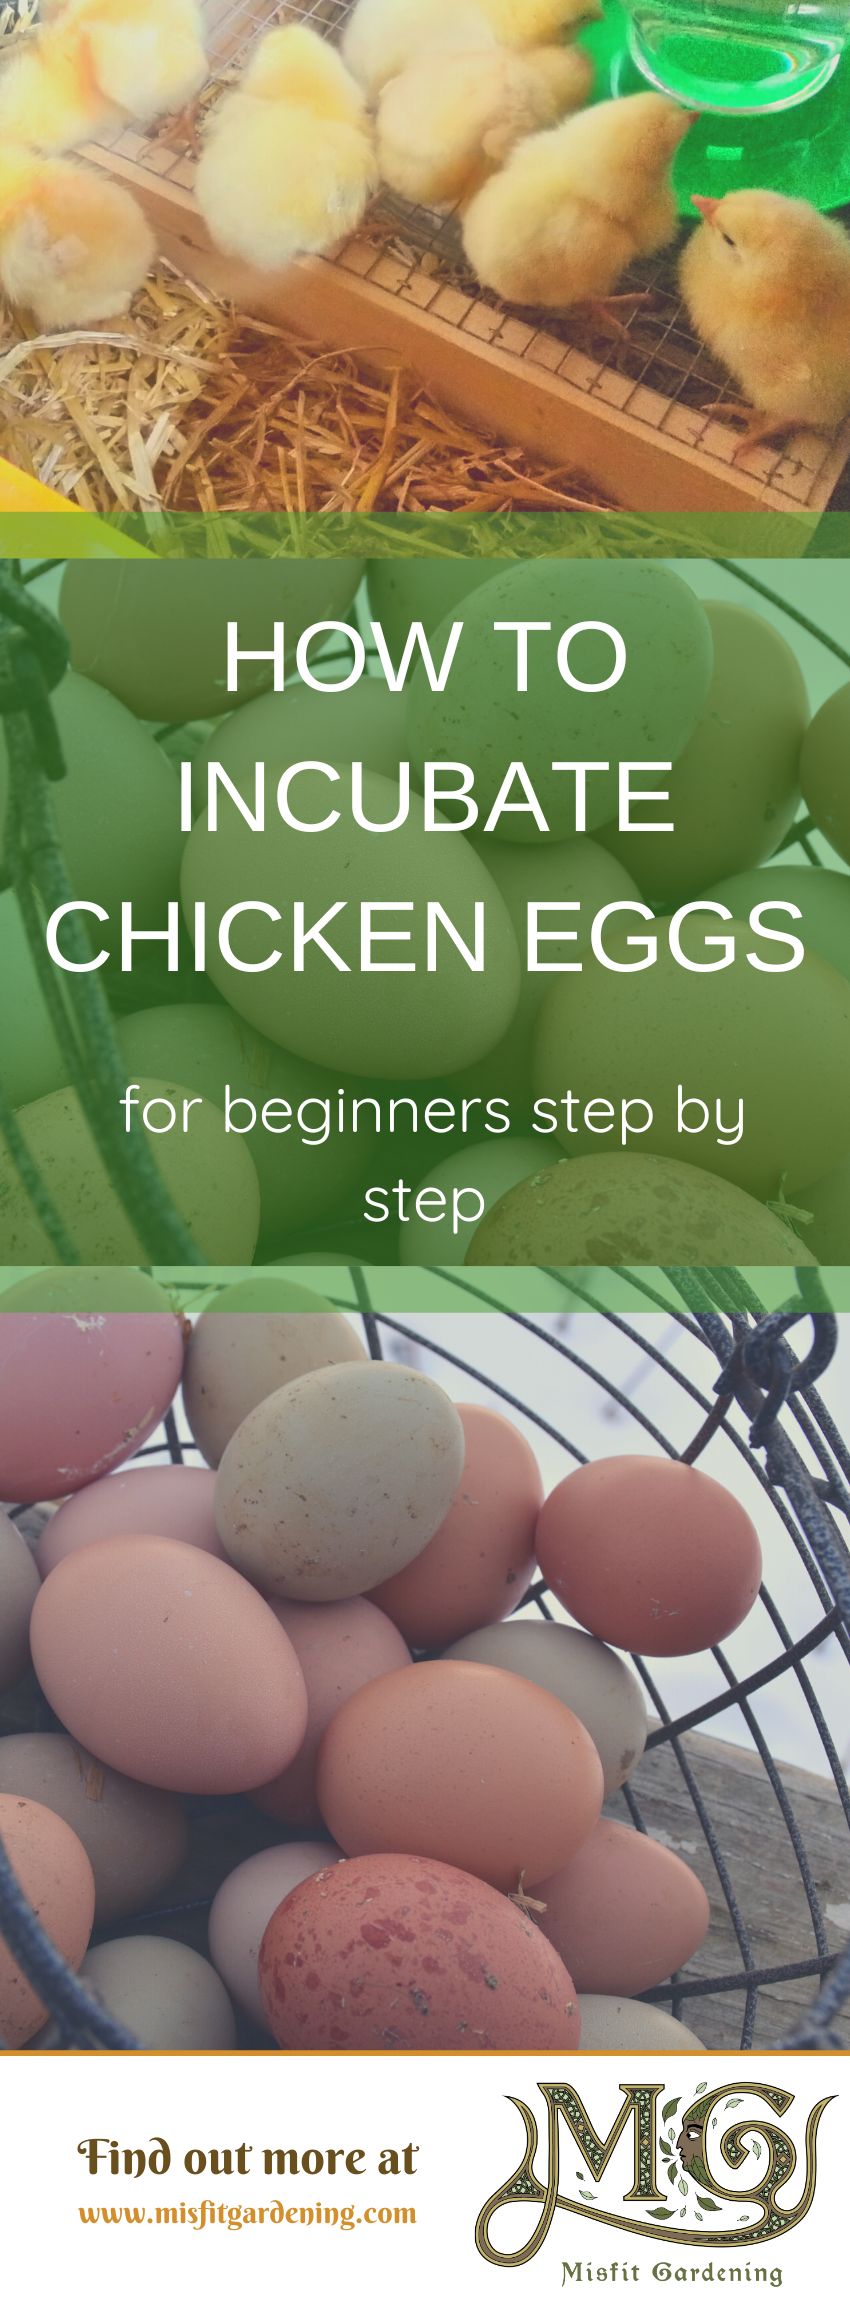
How To Hatch Chicken Eggs For Beginners
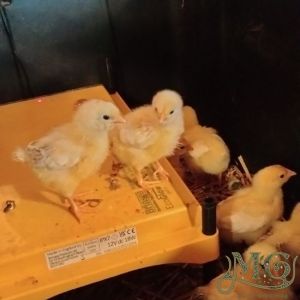
Today I want to talk about hatching chickens from eggs because this has been a new skill we are learning as homesteaders and has been a really interesting project for the last 30 days. I sit here with 3 bantam cochin chicks that have just hatched out in the incubator cheeping away! We were able to pick up a barnyard mix of hatching eggs from a poultry breeder about 2 hours away and we not only were able to get a dozen hatching eggs but also lots of advice about raising those particular breeds.
Pros of hatching chicken eggs
Hatching eggs is a great way to expand your flock of chickens. So let’s break down some of the great reasons for hatching chicken eggs at home.
- It can be more cost-effective for many homesteaders. It is often cheaper to buy hatching eggs of rare breeds than to buy the chicks.
- Some folks have fewer problems with pasty butt and stress that shipped chicks go through when they are coming from a hatchery.
- It can be a great project with kids.
- You can choose when to have chicks and you don’t necessarily need to wait to have a broody hen when you are hatching with an incubator. (Although springtime is the best since that is the natural season for baby chicks).
- There’s often a lot more choice of breeds with hatching eggs both locally and through mail order.
- Your eggs are generally safe from predators in an incubator. I say generally because I keep mine away from a curious dog but a determined pet may investigate your incubator or the chicks.
The Cons of hatching chicken eggs
There are some downsides to hatching chickens from eggs. Your chicks may not hatch due to how the eggs were handled in shipping. We drove ours from within a 2-hour drive and only 7 out of 12 eggs hatched. For eggs that are shipped in the mail, a hatch rate of 50% is considered a good hatch rate! There could be problems with the incubator like a power outage or it isn’t maintaining humidity.
Eggs may not be fertile. Unfortunately, the only way to tell is by cracking open an egg and that renders that egg useless for hatching but good if you want an egg-based snack.
Fertilized eggs can stop developing at any point during incubation and hatching. It can be due to lots of root causes such as bacterial infection, temperature, genetics, over-handling, or rough handling of the egg…the list goes on. And sometimes chicks hatch and just don’t survive.
Another downside of hatching eggs is that your chicks will be straight-run, or unsexed. If you live somewhere with strict requirements on roosters or crowing birds then you might just want to opt for sexed chicks from a hatchery or a breeder rather than waiting to see which are roosters and which are hens.
Chicken math.
Well, I guess this could be a pro but I think my husband would say it’s a con. But it is quite fun and addictive hatching eggs. Each one is a surprise waiting to hatch out!
What is incubating chicken eggs?
When it comes down to it, incubating chicken eggs is where you place fertilized eggs into an incubator for 21 days. The temperature is kept between 99-102F. You need to turn the eggs at least 3 times a day for 18 days. On day 19 you stop turning your eggs this is called lockdown and chicks will hatch on day 21.
What do you need to incubate chicken eggs?
You need an incubator designed for chicken eggs or a broody chicken. We opted for an incubator since we didn’t have a broody hen. There are lots and lots of incubators available on the market. We wanted one where there was an automatic egg turner, it was easy to clean, you could see into the incubator because of a clear viewing window, you could set and adjust the temperature, and it would fit a minimum of 12 eggs.
The prices range a lot for your incubator and there’s quite a bit of variability in budget models in terms of what they can do. We spent quite a lot of time researching incubators and reading reviews about them to find incubators that would work for us.
You will also need a temperature probe to check the temperature in the incubator versus what the incubator itself is reading and a hygrometer to measure the humidity inside the incubator. I use 2 combination probes in case one stops working. I like to have a backup plan!
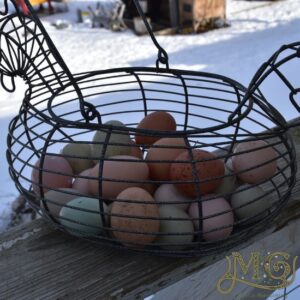
You are also going to need some fertilized chicken-hatching eggs and a flashlight or candler to be able to check the eggs periodically as they incubate.
Getting Ready to Hatch Chicken Eggs – Step 1
The very first thing you want to do is test that your temperature and humidity probes are working right. You can do a quick online search to see how to calibrate them. This is important because they are going to check that the readings on your incubator are accurate and you might need to adjust the incubator settings to make sure that you maintain 99-102F in the incubator.
I have a combined temperature and humidity probe. They are small so they don’t take up too much room in the incubator but I always check they are reading right first!
Next, check the incubator
I start mine at least a day before I’m going to put in my eggs. I want to check that the incubator is holding temperatures and humidity, that the automatic turner is working, there are no unexpected leaks.
I put my 2 backup probes inside to check the readings and adjust the settings on the incubator to make sure the temperature is 100F. It is really important that the temperature stays within the 99-102F range for chicken eggs, too high or too low and it could kill the developing chicks inside the egg.
Sanitize
After testing, I sanitize the incubator inside and out, and the probes. I want everything clean because eggs are porous and can easily be contaminated by bacteria. So clean and sanitize according to the instructions that come with your incubator. Sanitizing is the last step. I clean with hot soapy water, rinse, dry, then sanitize and let the sanitizer air dry but check with what your incubator says for cleaning and sanitizing instructions.
Setting the eggs – Step 2
It is very important to wash your hands before touching hatching eggs. The shells are porous, and bacteria can easily transfer from your hands when handling the eggs.
But don’t eggs need to go straight into an incubator?
Hatching eggs can be stored for up to 7 days with the pointy end down in an egg carton before placing them into the incubator. You need fresh, fertile eggs for the best hatch rates so local is better. You need to keep them in a cool area that stays between 55 and 60F. Before you ask …the fridge is too cold.
Hatching eggs that have been shipped to you in the mail, need time to rest and the air cell inside the egg to recover. You want to leave them (after checking if any are broken or cracked) with the pointy end down for 24 hours to allow things to settle. There’s lots of really great information about how to incubate shipped hatching eggs online so check it out.
To wash or not?
Eggs have a natural bloom over them that protects them from bacteria. It is this bloom that means eggs don’t need to be refrigerated but washing eggs, removes this protective bloom. I wash my hands when handling the eggs, but I don’t wash or clean the hatching eggs going into the incubator. I want that bloom to remain as intact as possible and I’m choosing clean eggs from the coop. I know that’s a huge area of debate among chicken keepers so do what is right for you.
Marking eggs
As you put the eggs into the incubator, I put an X on one side, and O on the other using a pencil to help see that the eggs are turning. I place them into the incubator on the side because that’s how my incubator works. Check your incubator instructions for how to set your eggs, different incubator models have different setups so don’t forget about your instructions!
Incubating – Step 3
For the first 24 hours, leave your eggs in the incubator, and check periodically the temperature. You don’t want to keep opening the incubator since the temperature and humidity will drop which is why I like the automatic egg turners. Otherwise at least 3 times a day, you will need to open up the incubator and turn the eggs from the X to the O and vice versa.
It is ok to open the incubator for short periods, mama hen will get off her nest to get food and water so don’t panic too much!
Checking eggs for development
You will want to candle the eggs using a flashlight or a candling device to check the chick’s development after a few days and to check for a blood ring or quitters. These are eggs that have stopped developing. I looked online for pictures of egg candling on day 3, day 7, and day 14 to see what I should have in my eggs and also see what to watch out for like a blood ring.
Dry Hatching
You might have noticed that I’ve only talked about temperature and not humidity. That’s because I do a dry-hatching method. I don’t add water to the incubator until lockdown on day 19. I live in a more humid climate anyway so the relative humidity is above 30% and I do the dry-hatch method for convenience because I work full time as well.
Lockdown – Step 4
On day 19, we want to increase the humidity so that the chicks can hatch out of the eggs and not get shrink-wrapped in their shells. Follow your incubator’s instructions for adding water to increase the humidity to 70%. Remove the automatic egg turner and if you like, put in some clean and sanitized rubber shelf liner to help your chicks have a grip and walk around.
What to look for
From day 19 to 21 you are looking for pips where you see the chick has pecked through the shell, the chicks pecking their way out the shell in a circle (zipping) then finally hatching out the shell. It is really hard to not open the incubator! But opening the incubator means dropping the humidity and temperature which can be detrimental to the other eggs and chicks in the incubator.
A chick hatching is a long process that takes a lot of energy from the chicks. It isn’t unusual for chicks that have hatched to be splayed out in the incubator and can be scary to see. They are most likely taking a nap it’s tiring to hatch! Your chicks will be wet and need to dry before they can be moved and it’s best to keep them in the incubator until the others have hatched.
Incubating Chicken Eggs and Hatching Questions
Some eggs are slower to hatch than others, which can happen if your temperatures have been on the cooler side. Our bantam chicken eggs hatched on day 20 so that was a lot earlier than we expected! We were worried about chicks stumbling around knocking the other eggs. But this is normal, the chicks that have hatched are encouraging the other chicks in the eggs to hurry up and hatch! Your hatched chicks will be ok to stay in the incubator for up to 2 days so try not to worry.
Do the chicks need food or water?
The egg yolk that is absorbed by the chick sustains them for up to 72 hours. Think about chicks being shipped in the mail, they will be ok for up to 72 hours.
Chicks look like they are struggling to hatch sometimes, and it is best to not intervene. We can more often do more harm than good by trying to help.
Once your chicks have dried off and there aren’t any signs of other eggs pipping or hatching, you can open the incubator and move the chicks to a brooder box that you have set up for your baby chicks!
What chickens do you want to hatch on your homestead? Let me know over in the Facebook group!
Dig In and Learn More
If this post has started ideas for your homestead, be sure to check out these related posts and helpful books that have inspired my homestead:
- Best Backyard Chicken Breeds For Suburban Homesteads
- Chicken Brooder: Why You Need One For Your Homestead
- How To Clean A Chicken Coop
- How To Homestead On Less Than An Acre
- How To Can Chicken
- Fresh Eggs Daily: Raising Happy, Healthy Chickens…Naturally by Lisa Steele
Like this post? Share the love and pin it for later!
Always ensure to operate safely. All projects are purely “at your own risk” and are for information purposes only. As with any project, unfamiliarity with the tools, animals, plants, and processes can be dangerous. Posts, podcasts, and videos should be read and interpreted as theoretical advice only and are not a substitute for advice from a fully licensed professional.
As remuneration for running this blog, this post contains affiliate links. Misfit Gardening is a participant in Affiliate or Associate’s programs. An affiliate advertising program is designed to provide a means for this website/blog to earn advertising fees by advertising and linking to websites offering products described in the blog post. It does not cost you the Reader anything extra. See Disclosures, Terms & Conditions and Privacy Policy for more information about use of this website.
Share this:


